
Registration for the flinkey Portal completed?
Be aware, that you need to have successfully registered first before trying to use the flinkey Portal User Guide below.
If this is not the case, please check out the instructions of the
Commissioning Manual
Once, this registration is accomplished, please scroll down and check out the features flinkey Portal. It is designed to explain how to manage your flinkey products and how to enable digital keys within your fleet operations.
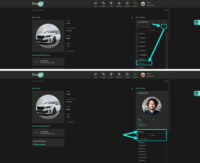
2. Optional: Edit User Profile & change Password
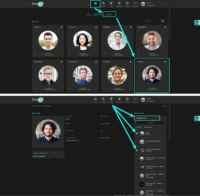
3. Optional: Manage Portal Users
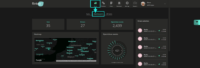
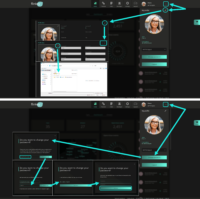
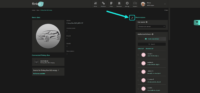
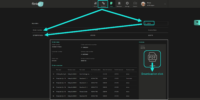
Open Settings
Three different roles can be assigned to flinkey portal managers, one role is automatically set on the initialization of an account:
- Contract Owner – Access to all areas and recipient of order confirmations & invoices
Automatically assigned to first administrator/manager; can only be changed to somebody else by the support team. - Portal Manager – Access to all areas
Needs to be manually and carefully assigned as same permissions as ‘Contract Owner’. - Fleet Manager – Full access to Cars, Drivers and event logs
Role to handle daily operations incl. developer access data (in case of an active integration), but no power to place or look up orders. - Contract Manager – Can look into Orders and Car Assignments / Driver Permissions
No access to the account settings, not entitled to change anything, to place orders or monitor event logs!
‘Contract Owners’ and ‘Portal Managers’ can start from the dashboard and
- Click on existing managers and change their role
- Click on the DELETE icon and delete an existing manager
- Click on the PLUS icon and assign a manager role to an existing portal user
- Click on the PLUS icon and create / invite a new manager
Do not forget to save at the end of editing.
4. Configure Contact Details for the flinkey App
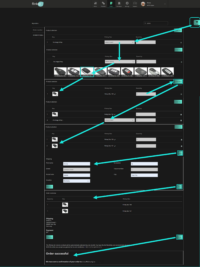
Open Configuration
Note: These details will be retrieved whenever drivers are in the flinkey App and seek support for a specific car (on the ‘Details’ Tab and the button ‘Contact Owner’).
5. Optional: Enable payment via SEPA
Open SEPA
In case you don’t want to take care of paying the monthly invoices, you may file SEPA details and benefit from a simplified billing / payment process.

6. Enable usage of newly added flinkey Box
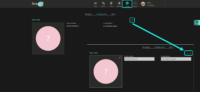
7. Enable editing of Car
Simply click on the PEN-Icon to enter vehicle details.
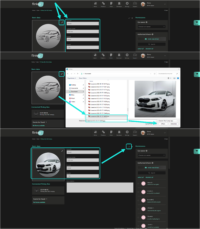
8. Enter Car Details
For the ease of a later identification within list views, it is recommended to specify the cars by adding i. e.
- Name
- Plate
- Type
- Model
plus, if applicable, a
- Description
Do not forget to save at the end of editing.
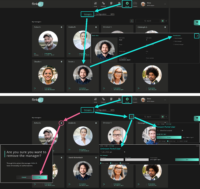
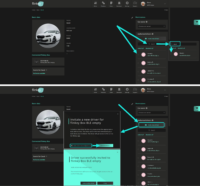
9. Assign Drivers to Car
You may either use
- the search field to identify and assign an already registered person
or
- the button “Invite new driver” to authorize a person not yet listed in the database
Note: On first invitation a driver will receive an email incl. a link to download the flinkey app from either the Apple or Google Play Store. Once the app was installed and a driver logged in successfully, assigned vehicles can be accessed via the app.
10. Special Option: Set Car Owner
If a vehicle shall not to be managed via the flinkey portal, but instead by a single person in the flinkey App (iOS or Android), you can select a car owner. Note: This option is only available for persons who are already registered and the selection must be confirmed with “OK”!
Once a vehicle has been configured for management by a car owner, administrators for the flinkey portal can no longer access details such as
- General settings
- Event logs
or
- Drivers
Important: The setting can be easily reset by selecting “No car owner”. However, all authorized driver authorizations in the app will also be deleted and may have to be selected again in the portal!
11. Edit Drivers
Open Drivers Overview
In this overview you can see and click on single drivers to
- See their details
- Check their assigned vehicles
- Assign to new / other vehicles
- Unselect single or all assignments
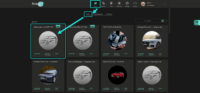
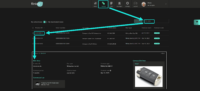
12. Manage your flinkey Boxes
Open Products
In this overview you can
- See all of your devices
- Click on the single flinkey boxes – each of the line entries is hyerlinked (product ID, serial number, car name, license plate, box-type and contract start)
- Search for products
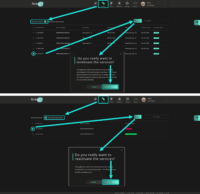
13. Deactivate or reactivate flinkey Boxes
Whenever required, you may
- Select one or multiple products and use the ‘Deactivate‘ button to terminate the related service subscriptions
Important: For 14 days the box will remain in ‘active’ status! - Select ‘My deactivated boxes’ in case you would like to reactivate a currently inactive box and use it again
Note: This activity will start a new service contract for the chosen device
flinkey Boxes with a vehicle, but no service contract assigned are listed with status ‘Pending activation’.
14. Look up your Orders
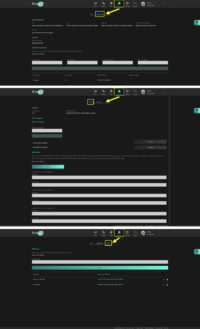
Open Orders
The dashboard lists all of your orders. With a click on the single lines you open the detail view. Note: Each of the line entries is hyerlinked (order number, order date, invoice date)!
On the detail view you see any data related to a particular order. And, you can download your invoices from here.
15. Place a new Order
New Order
Follow the steps of the order wizard to order new flinkey boxes.
16. Integrators only: Settings for Developers
Access Developer
In case the integration option was activated for your account, certain roles will see the ‘Developer’ tab in the top menu. In this section developers can find
- General information on developer resources and contact options
- API settings
- SDK keys
Question left?
We advise to revisit the FAQ section at the end of the Commissioning Manual. In case you cannot find an answer in there, get in touch with us.
Where to find the Quick Start Guide?
In case you lost the Quick Start Guide or have not received one by mistake, you may look it up online.
How to use the flinkey App?
The app should be intuitive and very easy to use. Most important is, that Bluetooth must be enabled and you need to be online periodically.